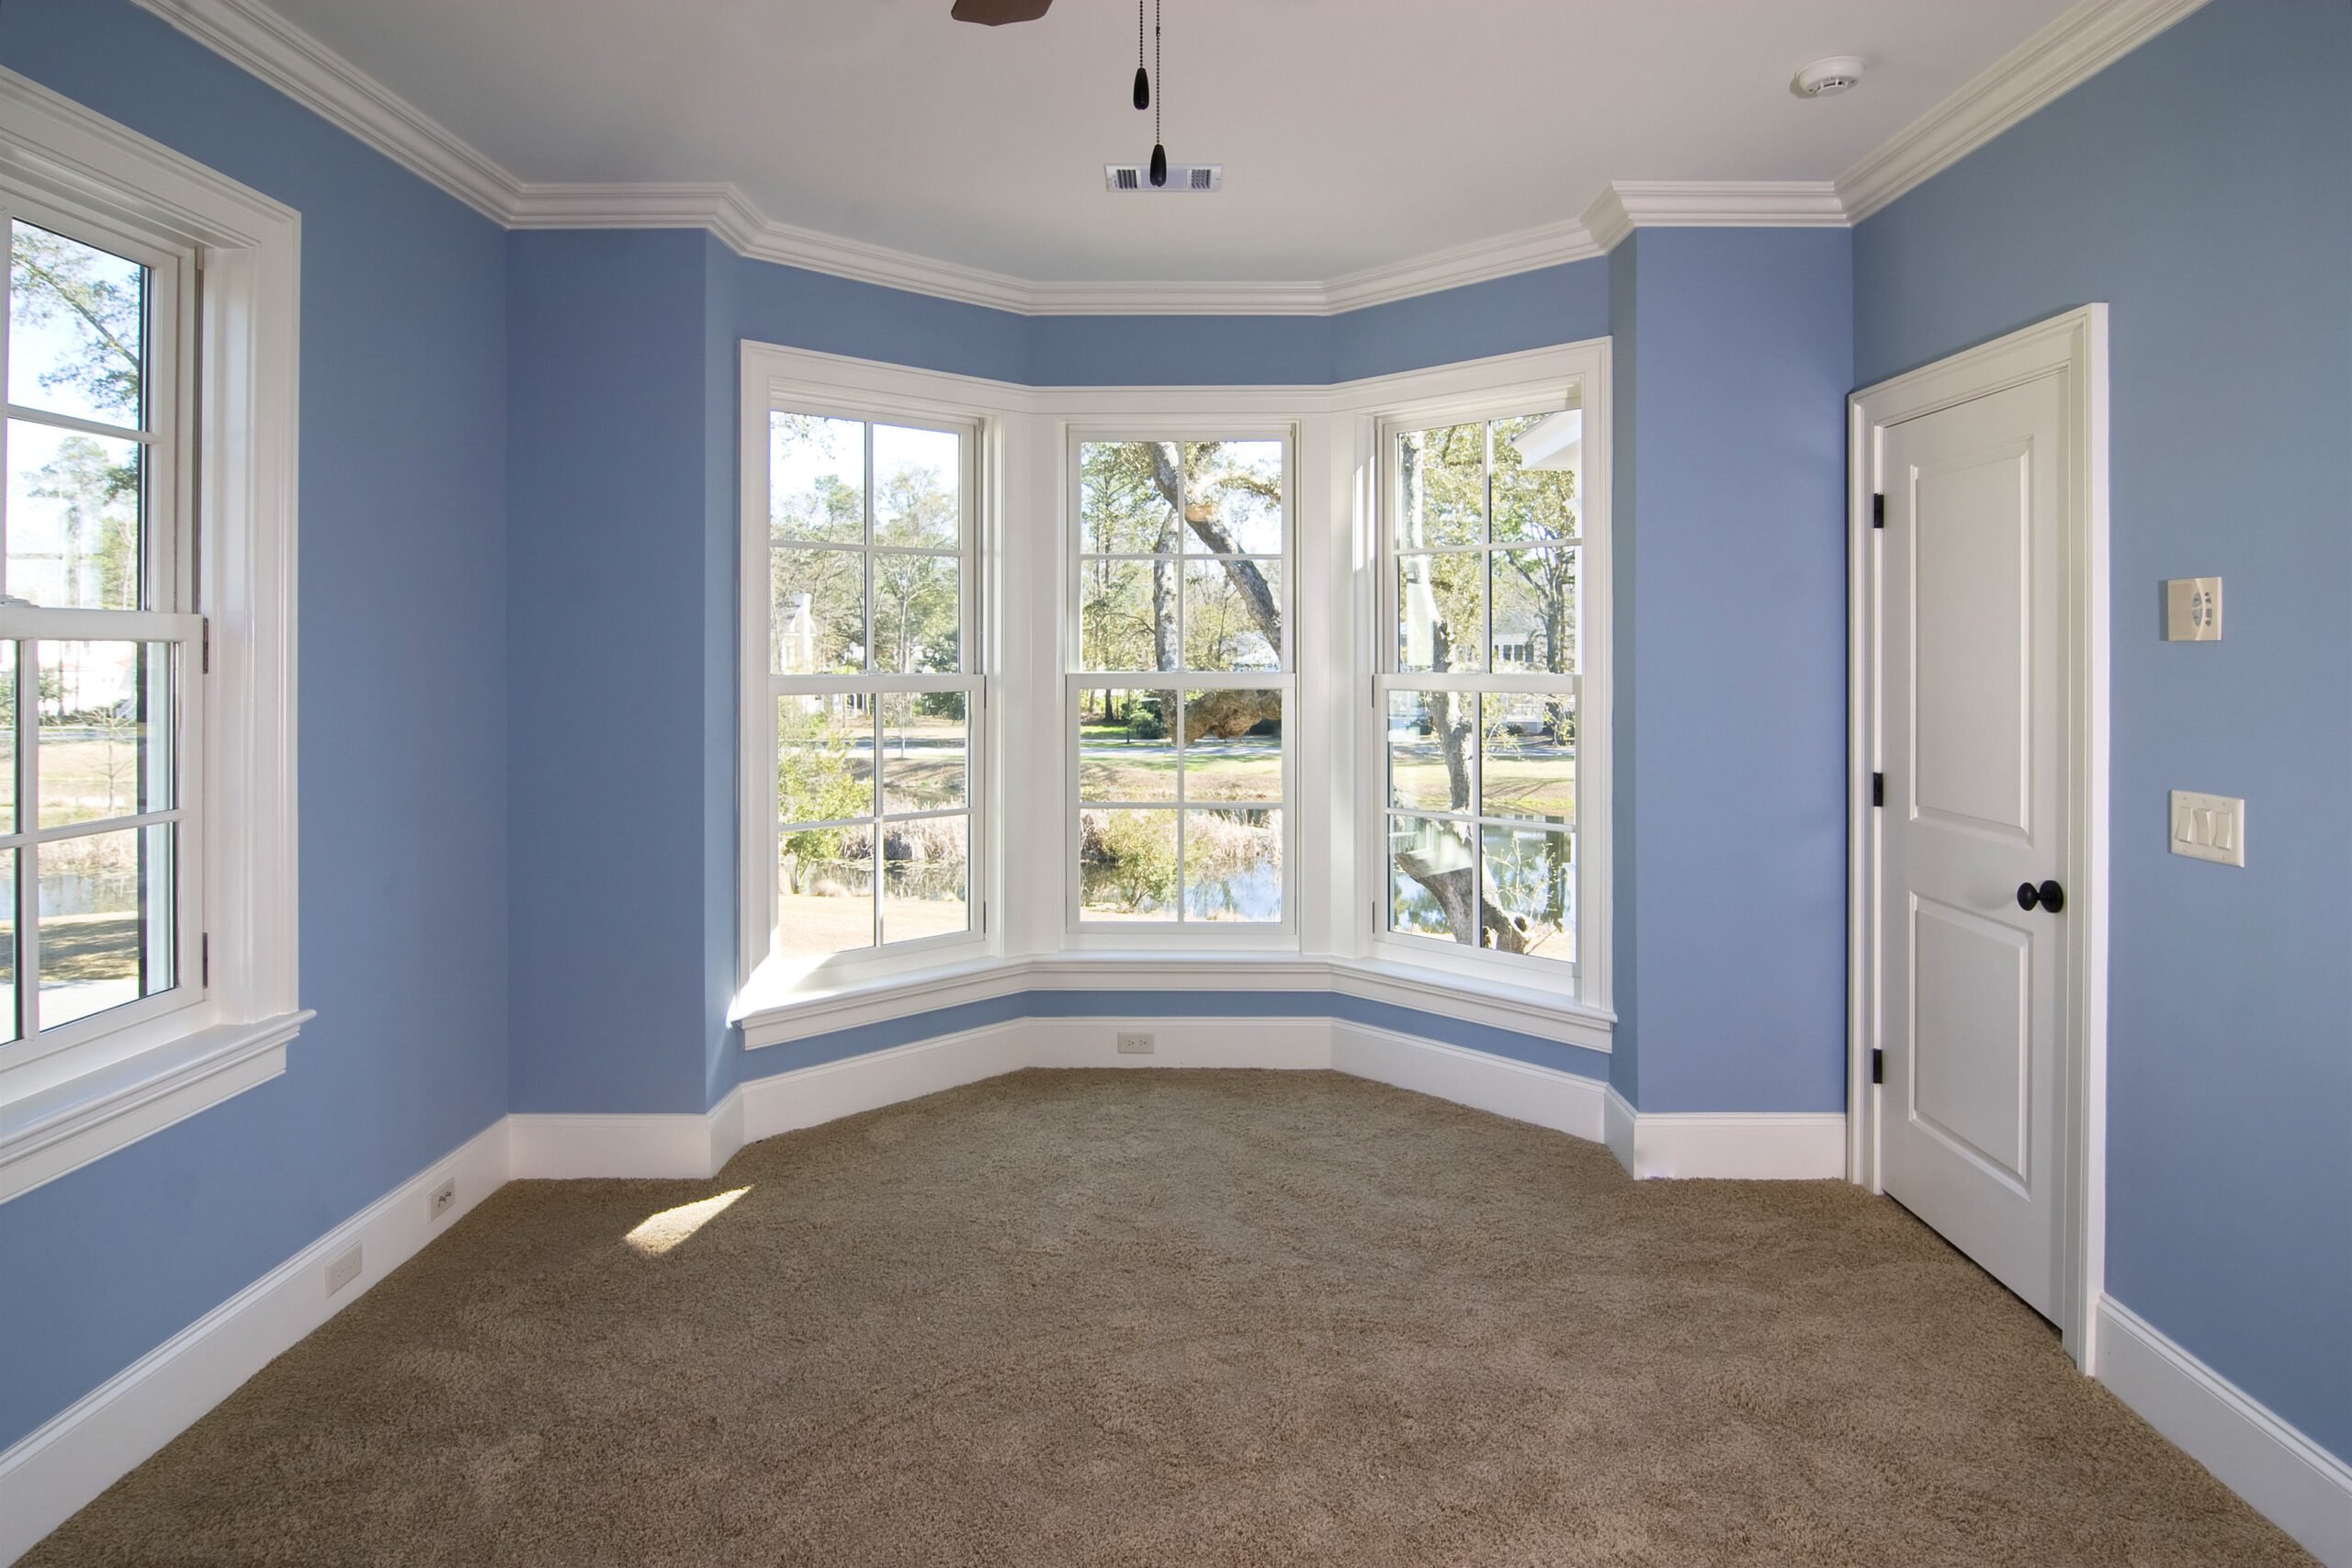
Something as simple as crown molding can change the look of any room. It makes spaces feel less boxy and more elegant. The process of installing crown molding is very easy.
Measure the wall
Start by measuring the wall. Determine how much molding crown will be necessary to cover the room. Make sure to buy some extra, in case there is some miscalculation. Finally, try to buy the molding crown for the room where it is going to adjust the temperature and moisture.
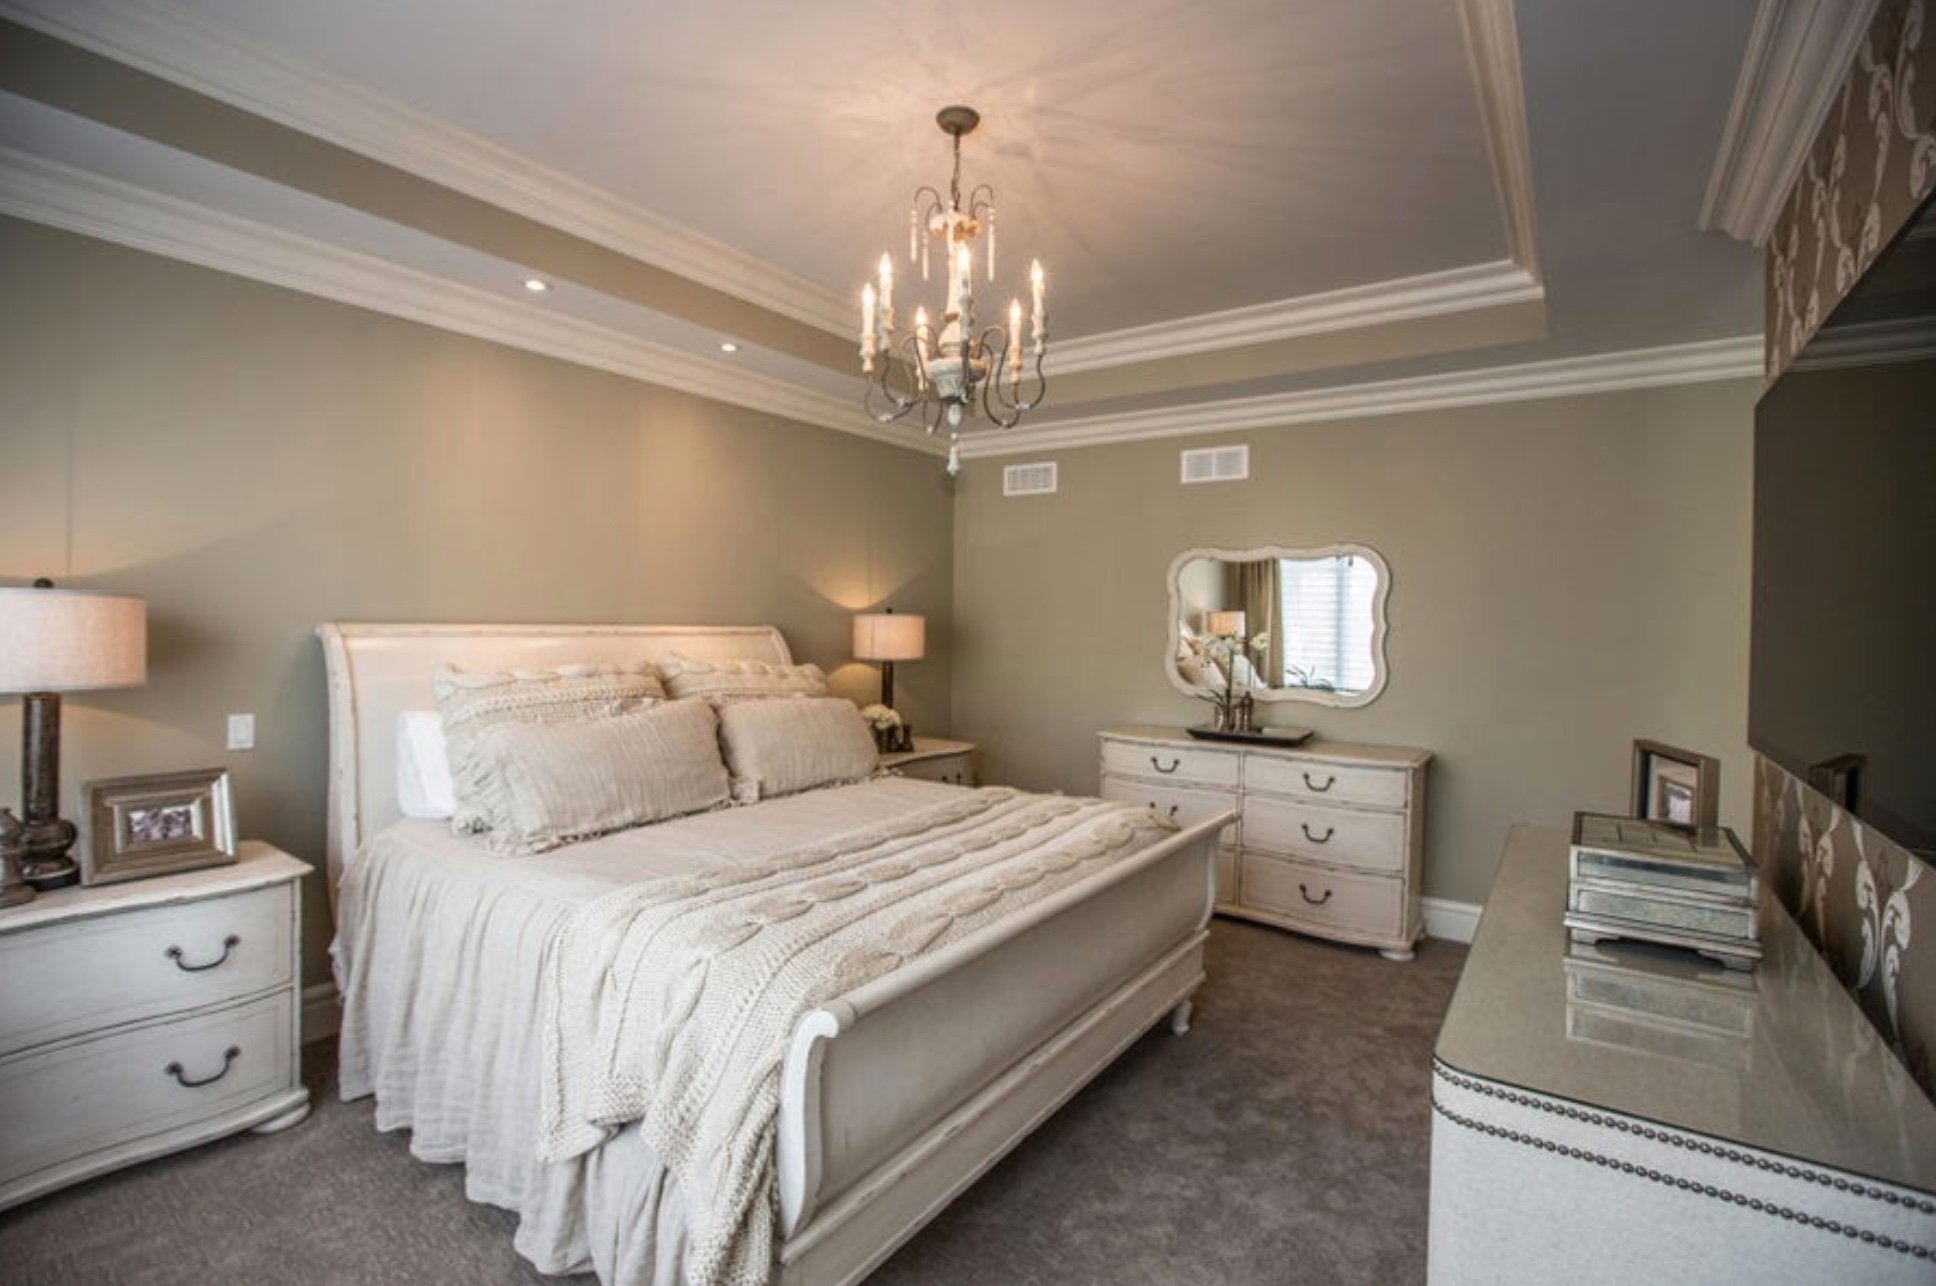
Set up for a refined look
Crown molding is usually set on the wall at an angle. Therefore, it is best to cut it at an angle, not in a flat line. One can cut it by hand saw. But this can be exhausting after a bit. The electric saw is very cheap and available in the store.
Make scarf cut
If the wall is longer than the molding crown, two separate crowns need to be connected in the middle. Cut the end of the two pieces at 45 degrees and join them with glue so they don’t get separated.
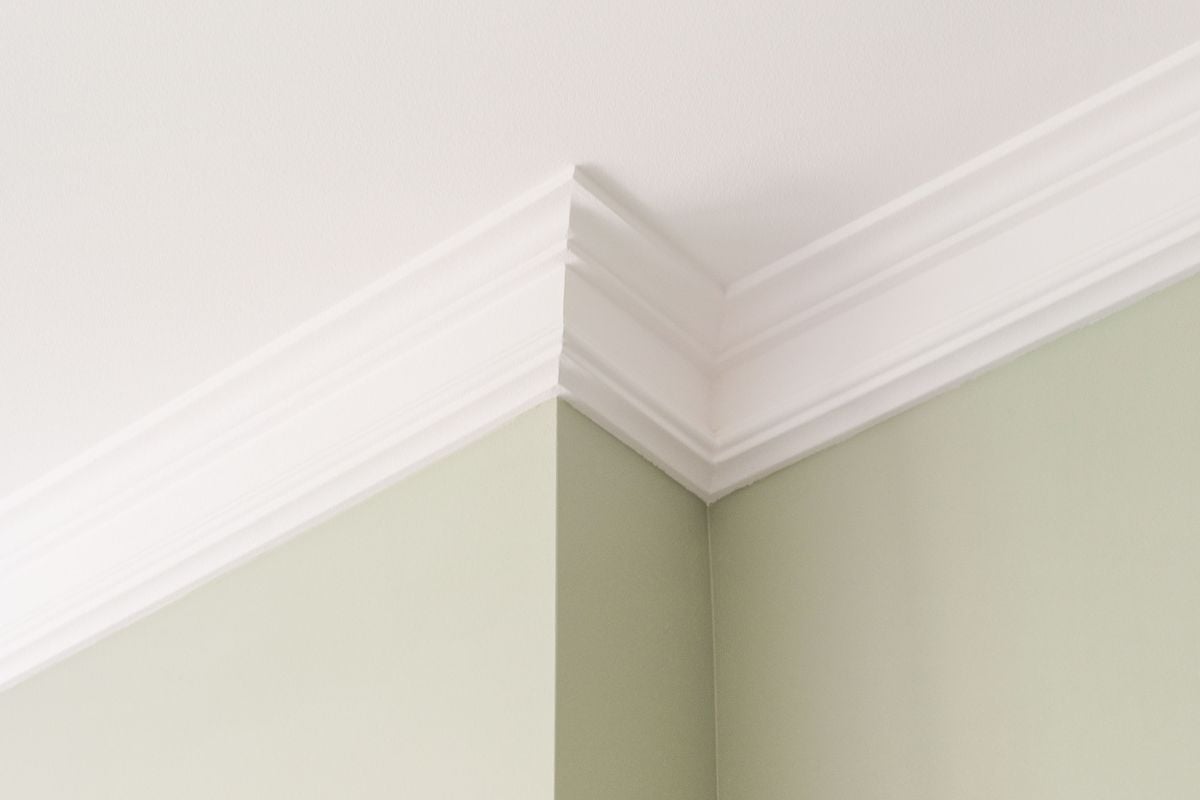
Cut the inside corners
Cutting inside the corner is the opposite of a scarf cut. Make the 45-degree angle cut at the opposite end of the molding crown to the narrower part against the wall. Glue them together to stick.
Attach the pieces
With the help of a nail and hammer, you can attach the pieces to the wall. Try to make it seamless so that no pins should be seen from the outside.
Attach the molding to the wall
This final step seals the deal. Fill in the gaps with molding cement to prevent any imperfections. In the end, it should look like the molding crown is attached to the wall.